Figures & data
Figure 1. The site and setting of the Marton-cum-Grafton cist burial.
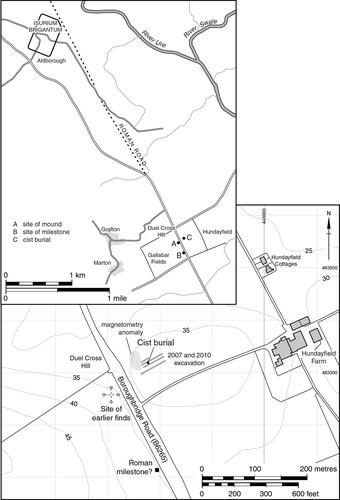
Figure 2. The 2007 excavation and 2010 ‘machine scrapes’.
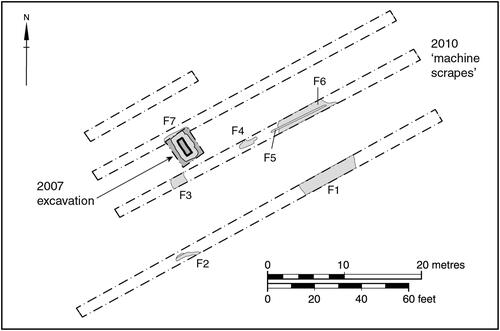
Figure 3. The cist with lead coffin-lining in situ and the cist construction-cut excavated.
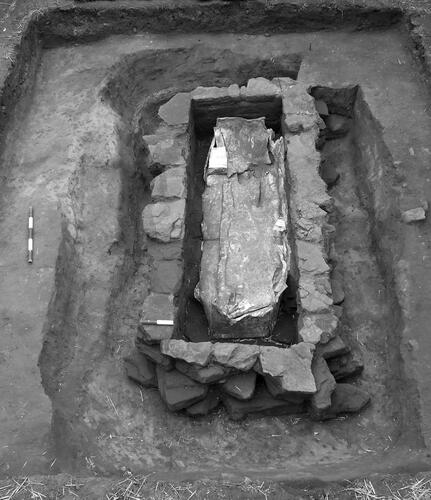
Figure 4. The skeleton within the lead coffin-lining, showing detail of the three slabs which formed the base of the cist.
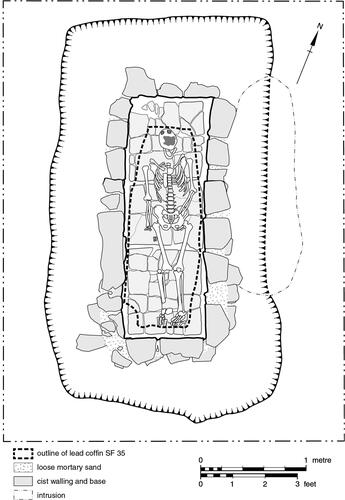
Figure 5. The secondary grave in relation to the cist, showing the positions of iron nails within both graves; numbered nails referred to in the text.
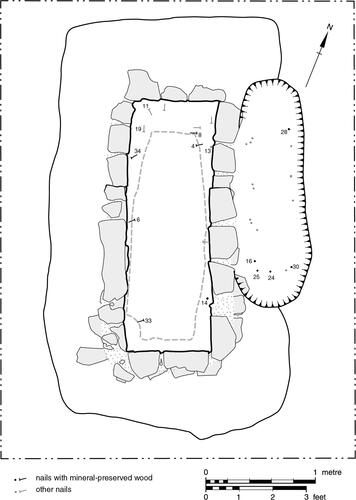
Figure 6. The cist burial viewed from the north, showing the covering slabs collapsed onto the underlying lead coffin lining.
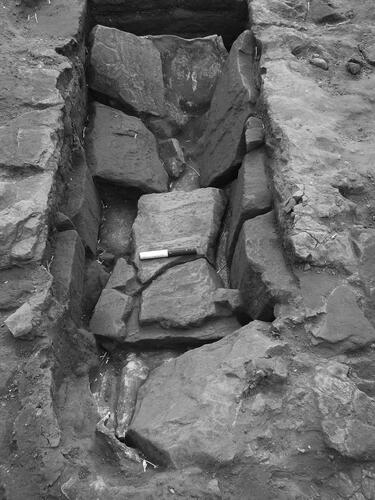
Figure 7. The lead coffin-lining in the final stages of cleaning and conservation prior to the removal of its cover and the excavation of the skeleton within.
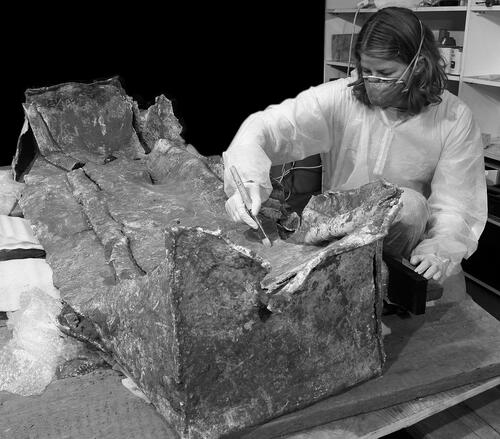
Figure 8. The skeleton as excavated within the lead coffin-lining.
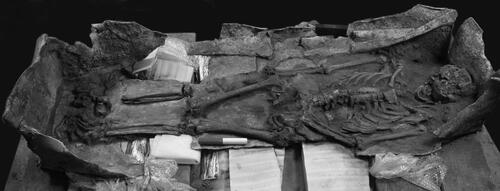
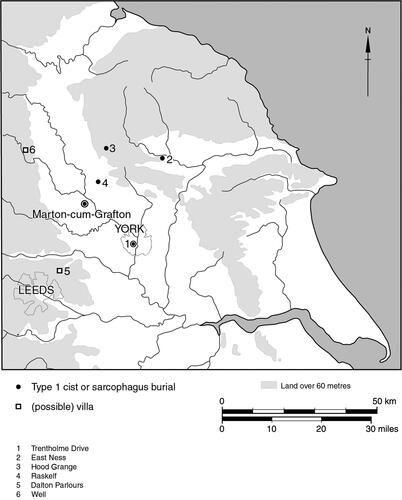
Figure 9. Site location and other regional sites referred to in the text.