Figures & data
Figure 1. Noosa Shire Council Local Government Area.
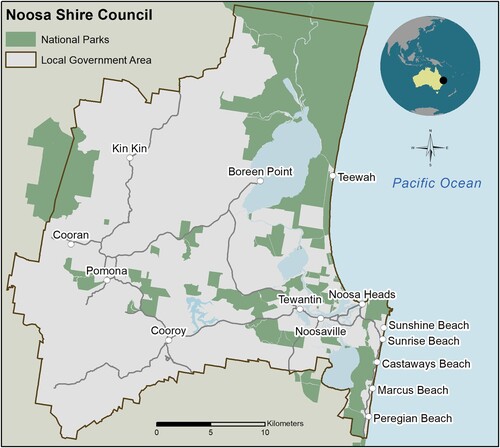
Figure 2. Hastings Street circa 2009 (Image courtesy of John Gollings Photography http://www.gollings.com.au/).
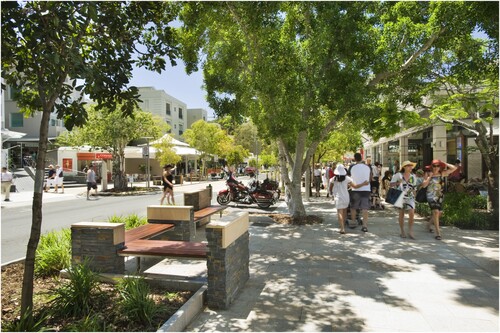
Figure 3. Main Beach, Buildings along Hastings Street and vertical development on the slopes near Noosa National Park (By Hypervision. Used under License).
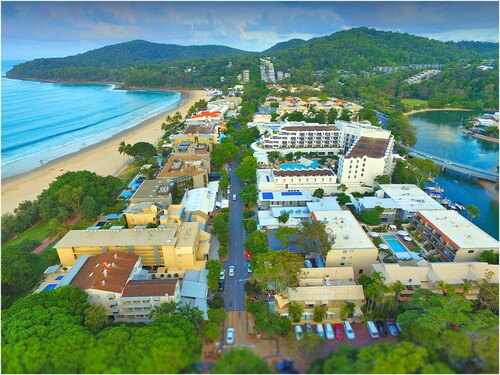
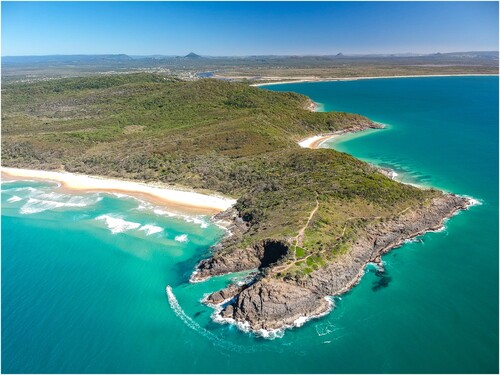
Figure 4. Noosa National Park map and nearby protected areas.

Figure 5. Rock wall construction circa 1968 (left) and complete rock wall 1972 (right; grey line in the swash zone to the left of the river mouth). (Images c/o Noosa Library Service https://www.libraries.noosa.qld.gov.au/picture-noosa).
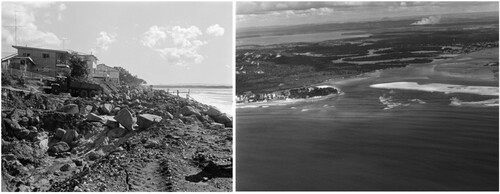
Figure 6. Noosa National Park (centre), Cooloola Recreation Area (upper right) and surrounding landscape facing southwest (By Guille. Used under License).