Figures & data
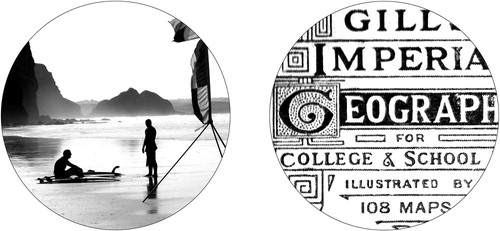
Figure 1. Moving Boulders: Wall-mounted porcelain panels and light box
Figure 2. The final base map artwork, April 2010 (I. Risner, Citation2013).
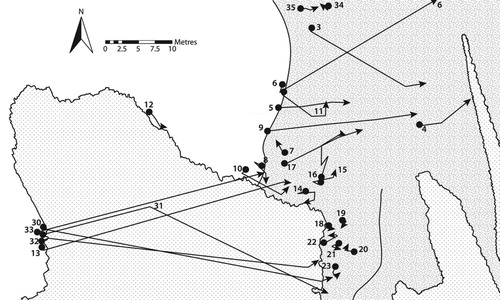
Figure 3. Left) The Boulder Trap, digital artwork for Panel 9, 200 × 300 mm (I. Risner, Citation2013). Right) Porcelain panel of the Boulder Trap and overlaid imagery after kiln firing.
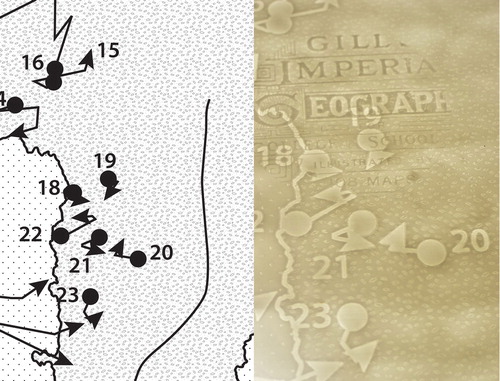
Figure 4. Examples of additional layered imagery.