
Figures & data
Figure 1 Jaw-opening sthenometer.
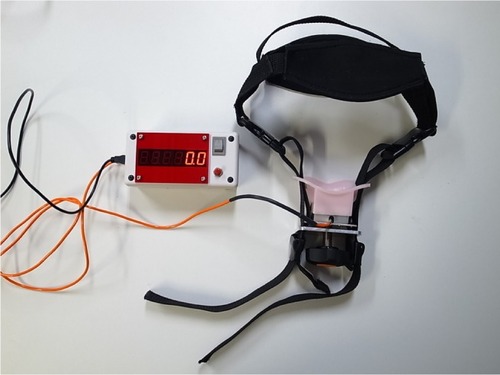
Figure 2 Schema of a lateral view of hyoid bone and neck with measuring point.
Note: Maximum/resting hyoid position: the vertical distance from the upper end of the hyoid bone to the y-axis.
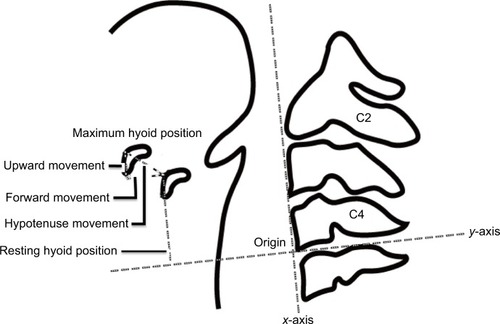
Table 1 Participant characteristics and hyoid displacement
Table 2 Correlation of jaw opening force with resting/maximum hyoid position and hyoid displacement