
Figures & data
Figure 1 Magnetic resonance images showing a large incisional hernia with the presence of bowel (A, arrows) and omentum (B, arrows).
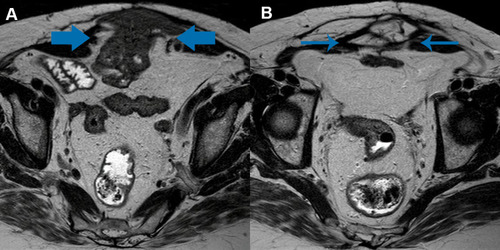
Figure 2 Magnetic resonance image of the pelvis.
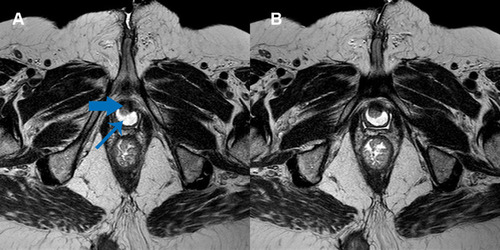
Figure 3 Image of the patient’s abdomen in the standing position demonstrates an incisional hernia projecting from the umbilical scar to the pubic symphysis.
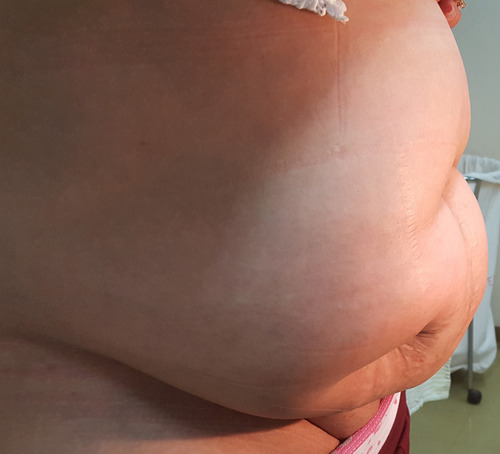
Figure 4 Transvaginal ultrasound axial view shows complex urethral diverticulum as hypoechoic region around urethra.
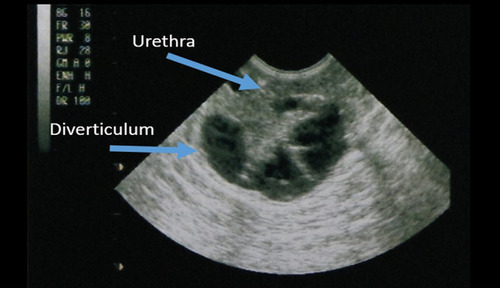
Figure 5 Voiding cystourethrogram shows a complex multilocular diverticulum filled with contrast agent at the level of the midurethra.
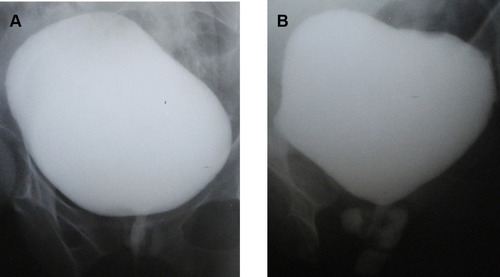
Figure 6 Image of two 2-cm horizontal incisions (over the iliotibial band and 6 cm above the patella) with the fascia lata strip.
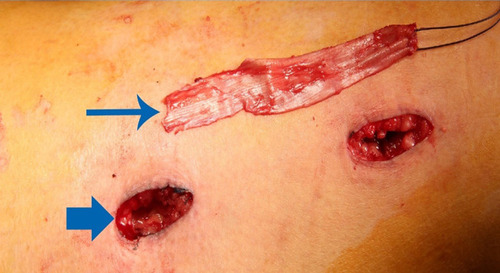
Figure 7 Images demonstrating diverticulectomy.
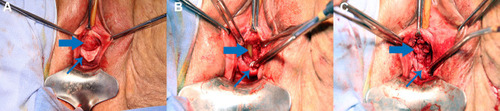
Figure 8 Final aspect of the procedure.
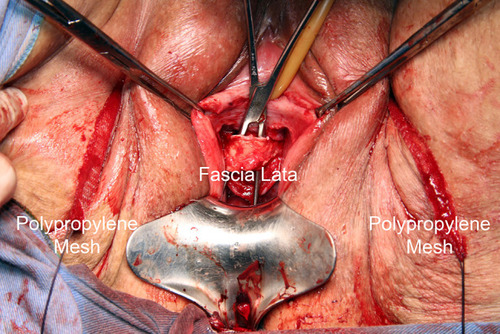
Table 1 One-Year Post-Operative Assessment Voiding Function
Table 2 Literature Review of Concomitant SUI and Diverticulum Repair