
Figures & data
Figure 1. Second molar implant site in which the visibility score of the mandibular canal (arrow) was equal on both of orthoradial (a) and oblique slices (b).
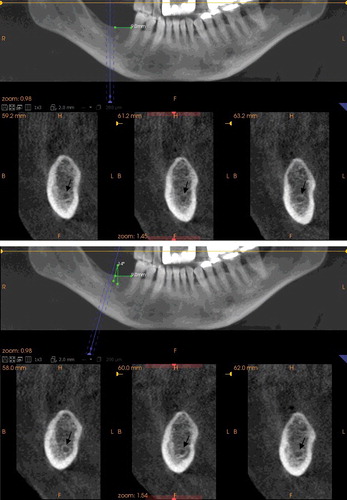
Figure 2. First molar implant site in which the visibility score of the mandibular canal (arrow) was more on orthoradial (a) than oblique slices (b).
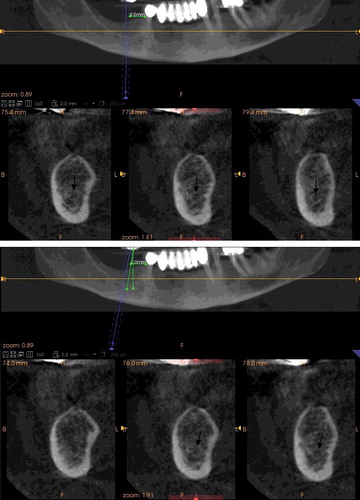
Figure 3. Second molar implant site in which the visibility score of the mandibular canal (arrow) was less on orthoradial (a) than oblique slices (b).
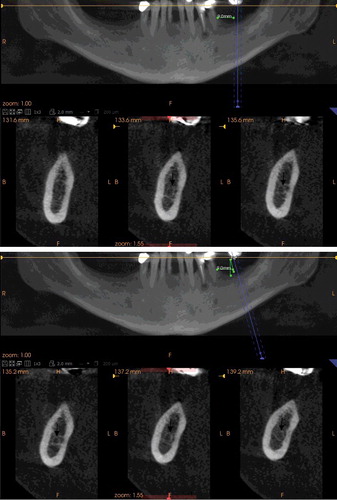
Table 1. The visibility scores of orthoradial and oblique CBCT slices according to location of implant site.