
Figures & data
Figure 1. View of Baan Fai Rim Ping from the river. Source: The authors.
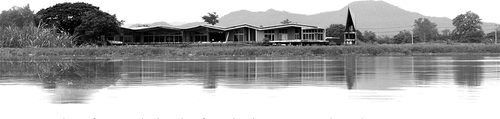
Figure 2. Details of the front façade and wall apertures. Source: The authors.
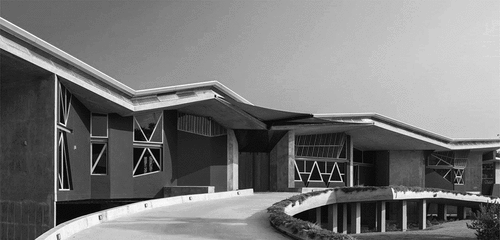
Figure 3. Location map of Baan Fai Rim Ping. Source: The authors.
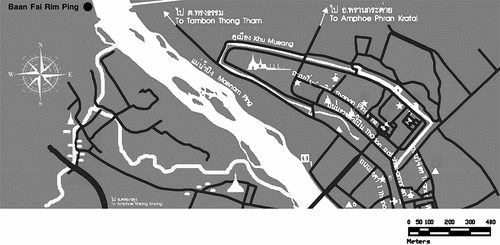
Figure 4. The Design Procedures of Baan Fai Rim Ping. Source: The Authors.
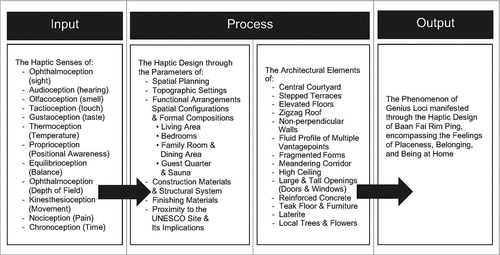
Figure 5. Overall illustration on the south and east façades of the house. Source: Courtesy of Kriangkrai and Pornrawee Chananitithum.
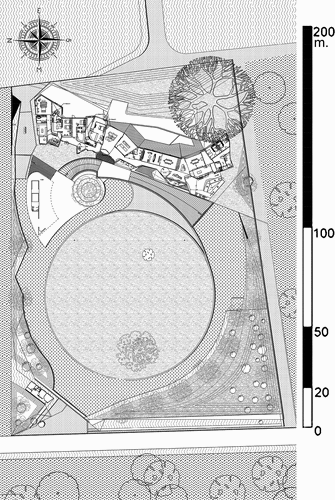
Figure 6. Layout plan. Source: Courtesy of Kriangkrai and Pornrawee Chananitithum.
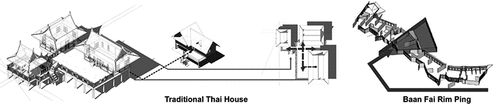
Figure 7. Analytical illustration on the transitional spaces at traditional Thai house and Baan Fai Rim Ping. Source: The authors.

Figure 8. Analysis illustration on the space under traditional Thai house and Baan Fai Rim Ping. Source: The authors.
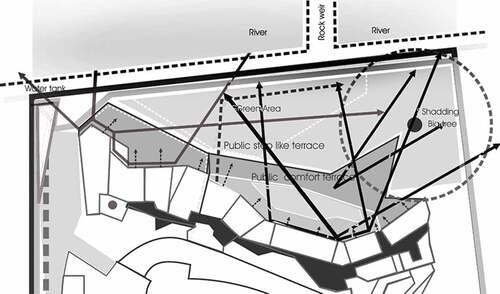
Figure 9. Analytical illustration on multiple vantage points of scenery toward the river. Source: The authors.
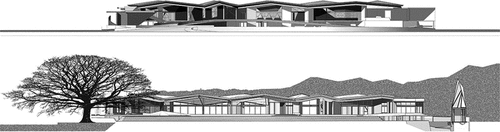
Figure 10. Finishing materials of Baan Fai Rim Ping. Source: The Authors.
Figure 11. 3-axial matrix diagram depicting the haptic approach by Baan Fai Rim Ping in cultivating genius loci. Source: The authors.
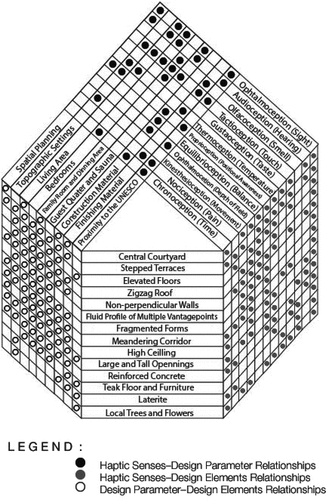
Table 1. Types of haptic senses employed in each design parameters of Baan Fai Rim Ping in cultivating genius loci. Source: The authors.